Setup guide
Implementation Guide
Use MemberMaker to turn an iPhone or iPad into a self-service visitor sign-in kiosk. This guide walks through the simple setup for meetings, services, classes, workshops, open houses, and local events.
Before you begin
Choose a device
Use an iPhone or iPad with enough battery for the event. A tablet usually works best when guests will sign themselves in.
Pick a sign-in spot
Place the device where your paper sign-in sheet or guestbook usually sits: welcome table, check-in desk, classroom entrance, or lobby.
Decide who follows up
Assign one person to export or review visitor contacts after the event so new guests do not fall through the cracks.
Step 1
Create your account and organization
Open MemberMaker, create an account, and add your organization. Use a clear organization name that volunteers will recognize, such as “First Church Welcome Table,” “Downtown Chess Club,” or “Saturday Workshop.”
- Download MemberMaker from the App Store.
- Sign in or create a new account.
- Create an organization for the group or event you want to track.
- Keep the login available for whoever manages check-in.
Step 2
Test the visitor sign-in flow
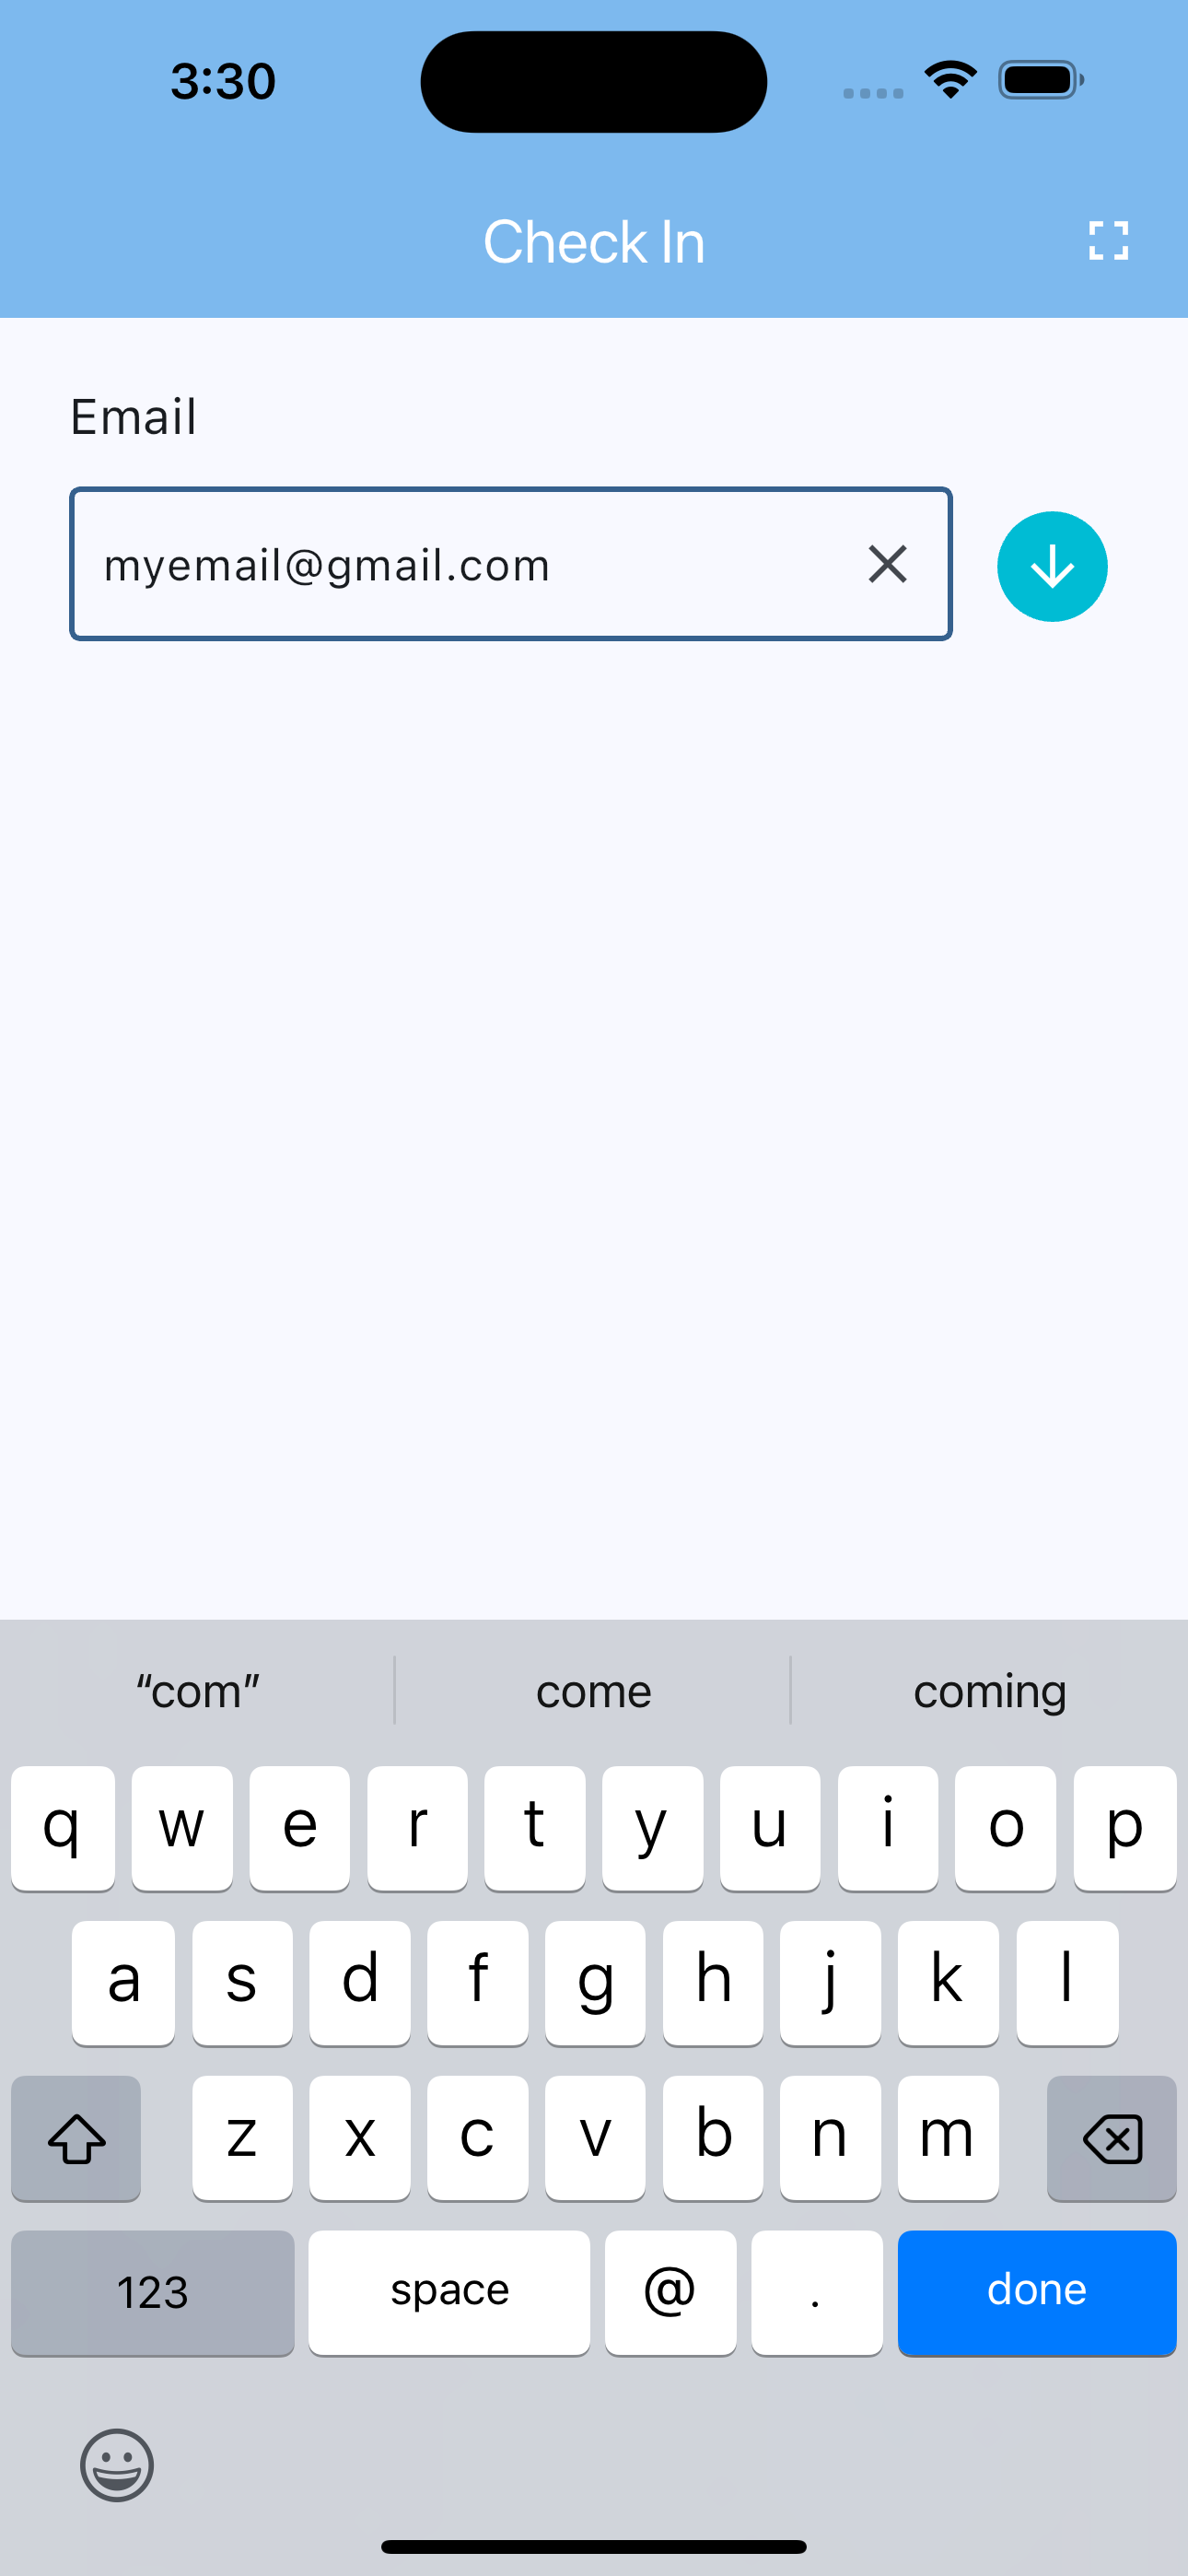
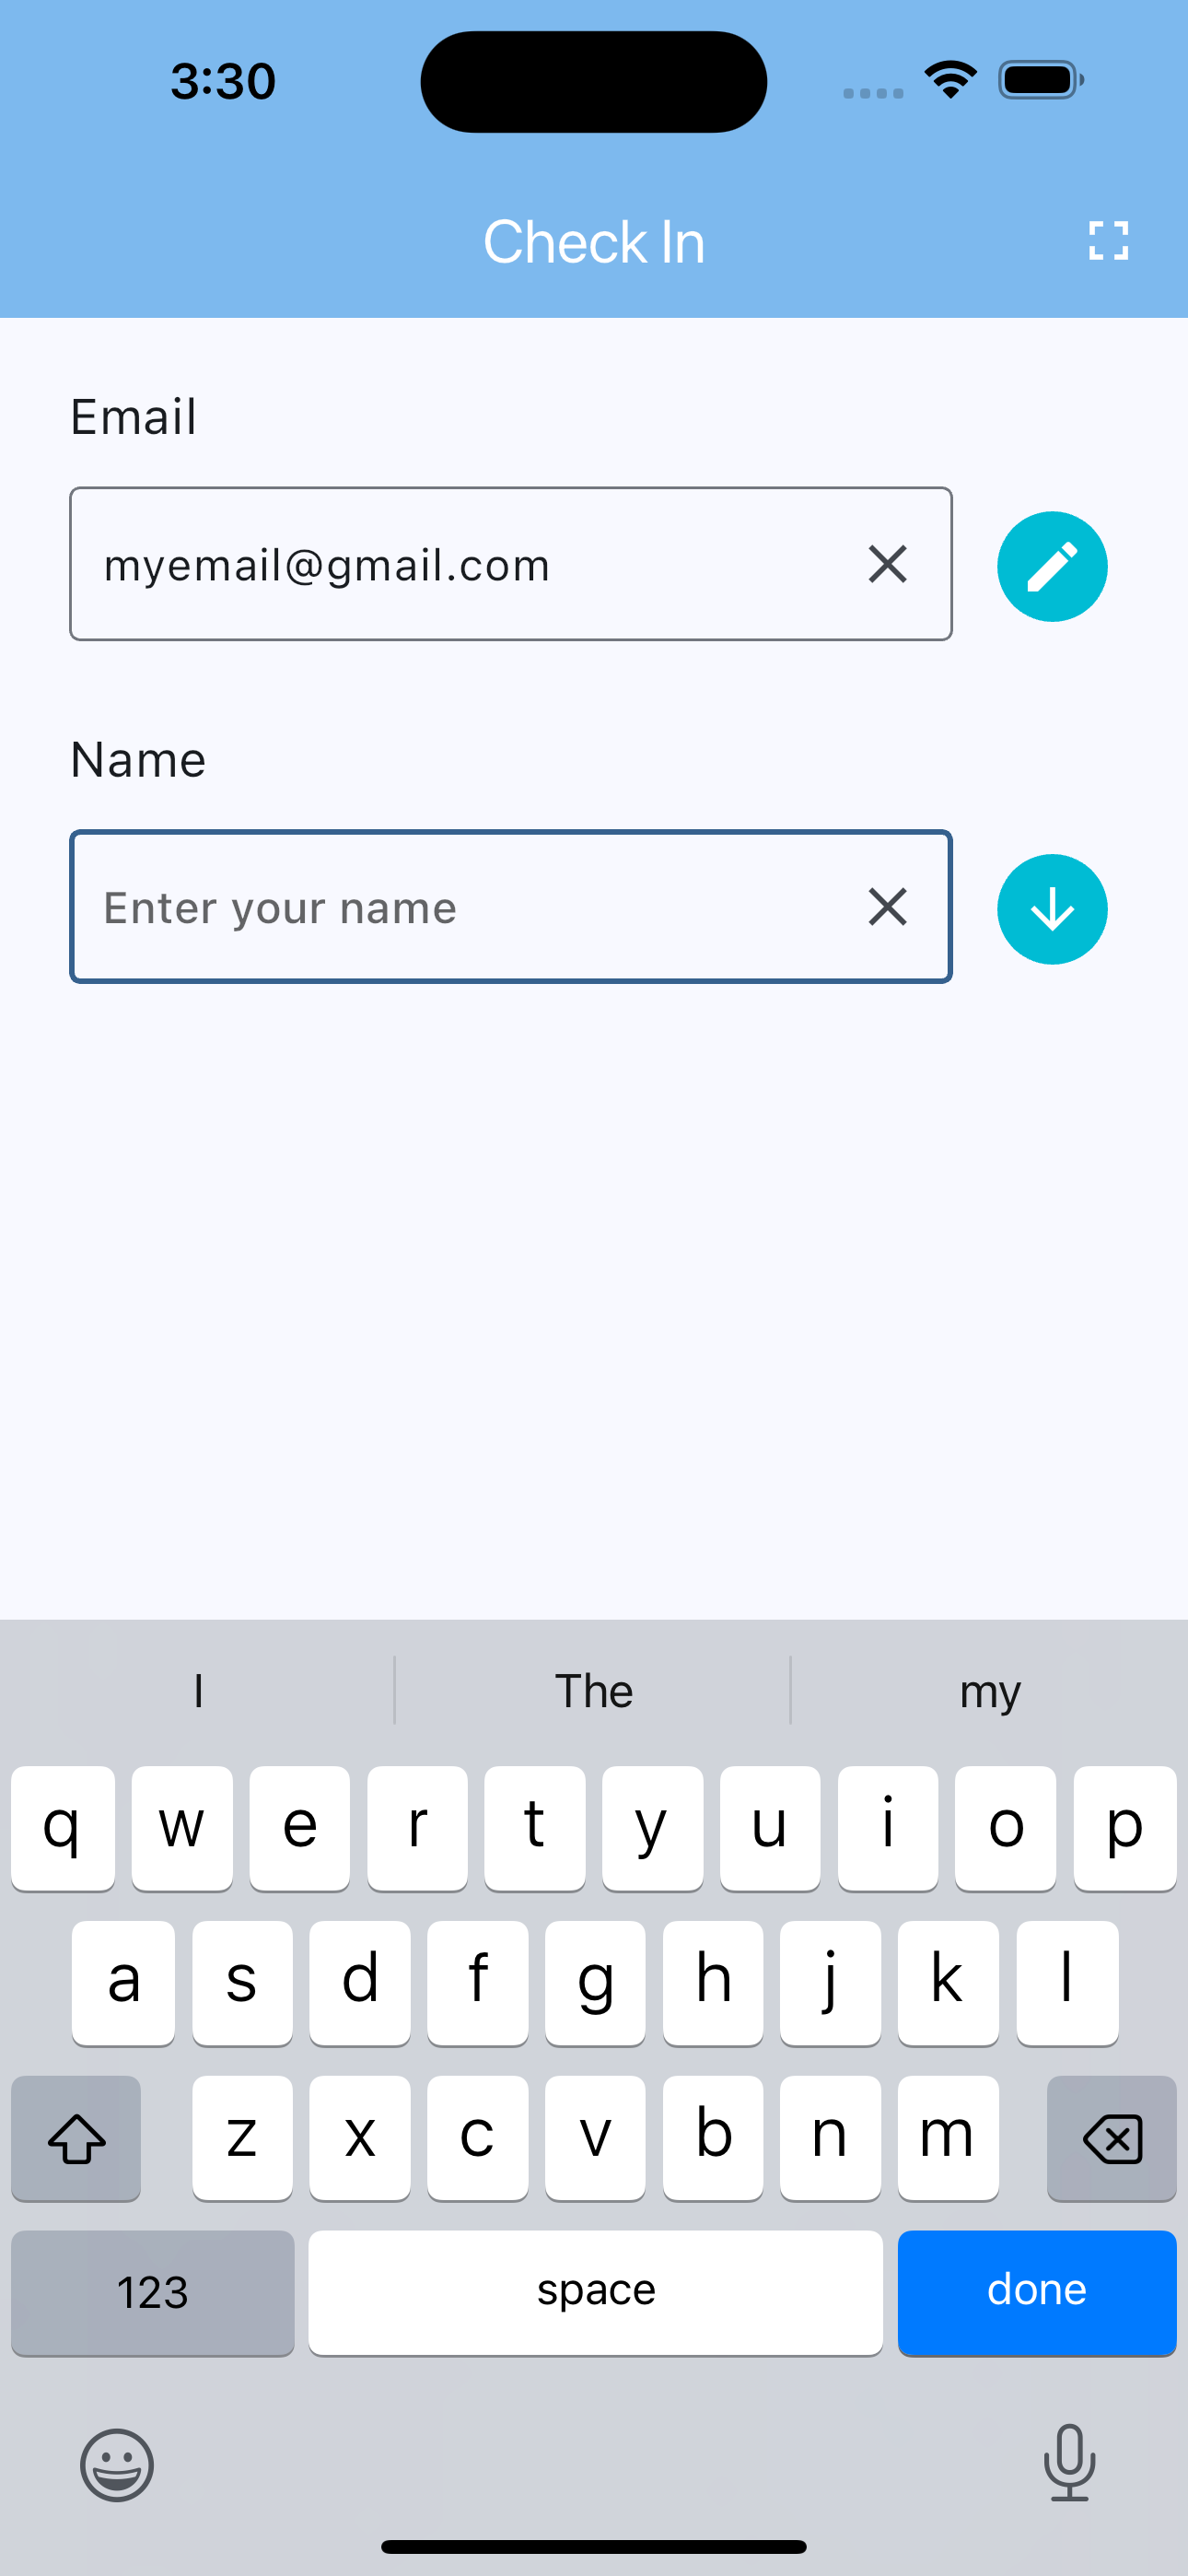
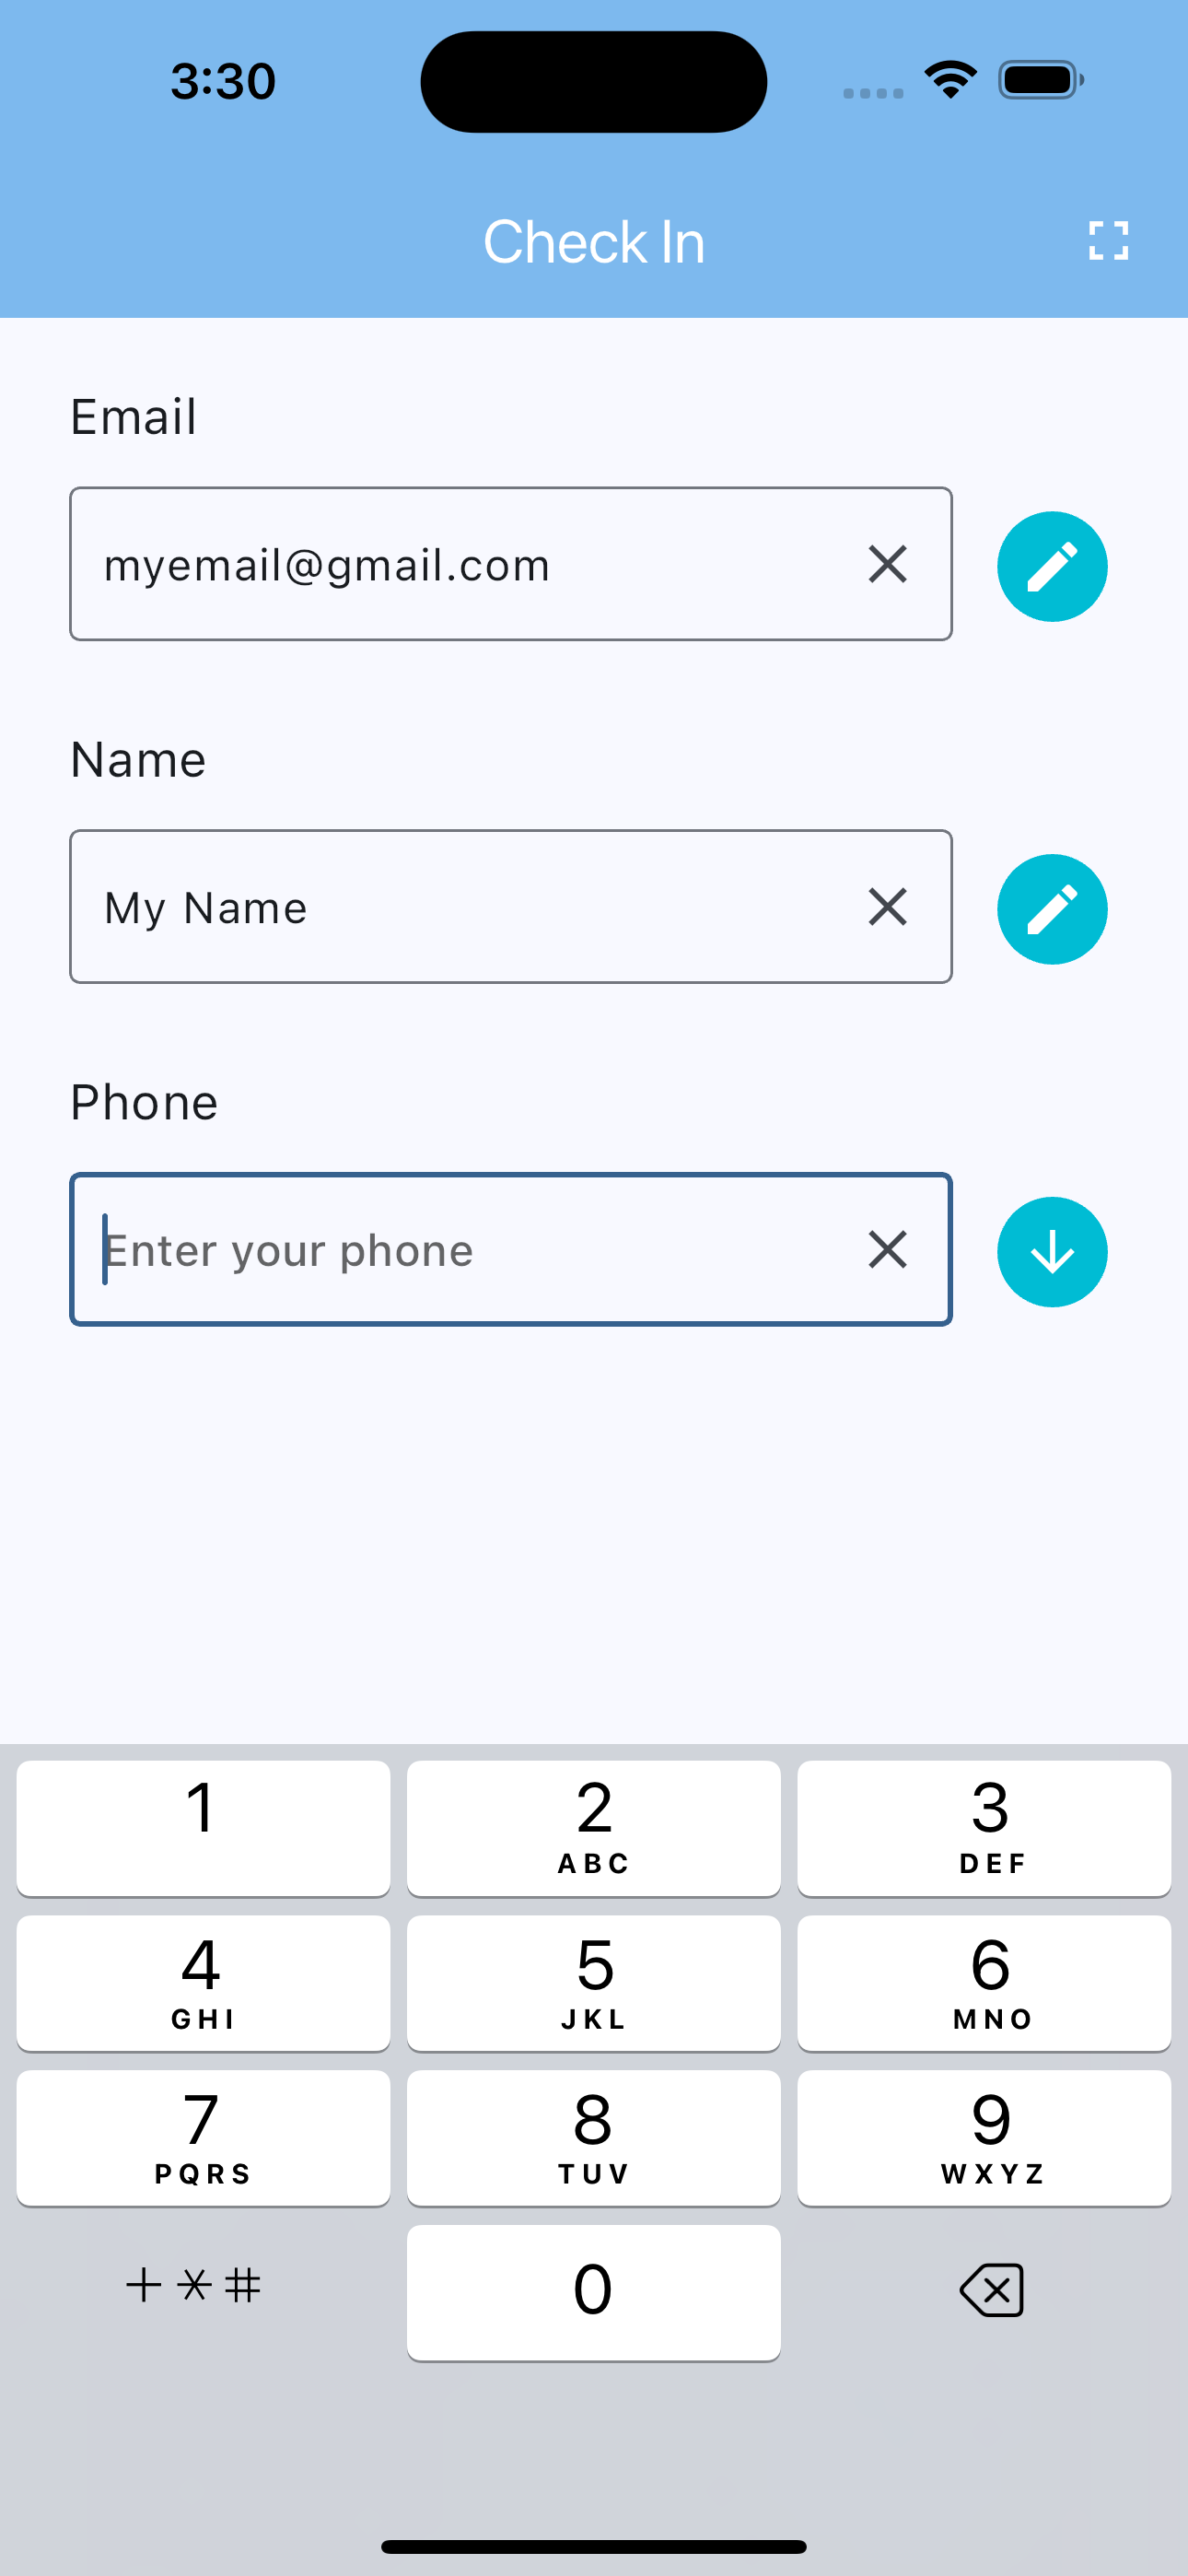
Before guests arrive, run through the form once yourself. MemberMaker collects basic contact details in a step-by-step flow so visitors are not staring at a complicated form.
- Enter an email address.
- Add a visitor name.
- Add a phone number.
- Submit the check-in and confirm the success screen appears.
Step 3
Turn the device into a kiosk
For self-service check-in, use fullscreen mode in the app and keep the device in one obvious place. If your group has a high-traffic entrance, put a volunteer nearby for the first few minutes to help guests learn the flow.
- Start check-in before guests arrive.
- Keep the device plugged in for longer events.
- Use a stand, case, or table sign so guests notice it.
- Ask volunteers to send people to the kiosk instead of writing names on paper.
Day-of-event checklist
At the entrance
- Device is charged or plugged in.
- Screen brightness is high enough to read.
- MemberMaker is open to the sign-in flow.
- A volunteer knows what to do if someone asks for help.
After the event
- Review the visitor list.
- Look for first-time guests and repeat visitors.
- Export contacts to CSV when needed.
- Follow up while the event is still fresh.
Step 4
Review visits and follow up
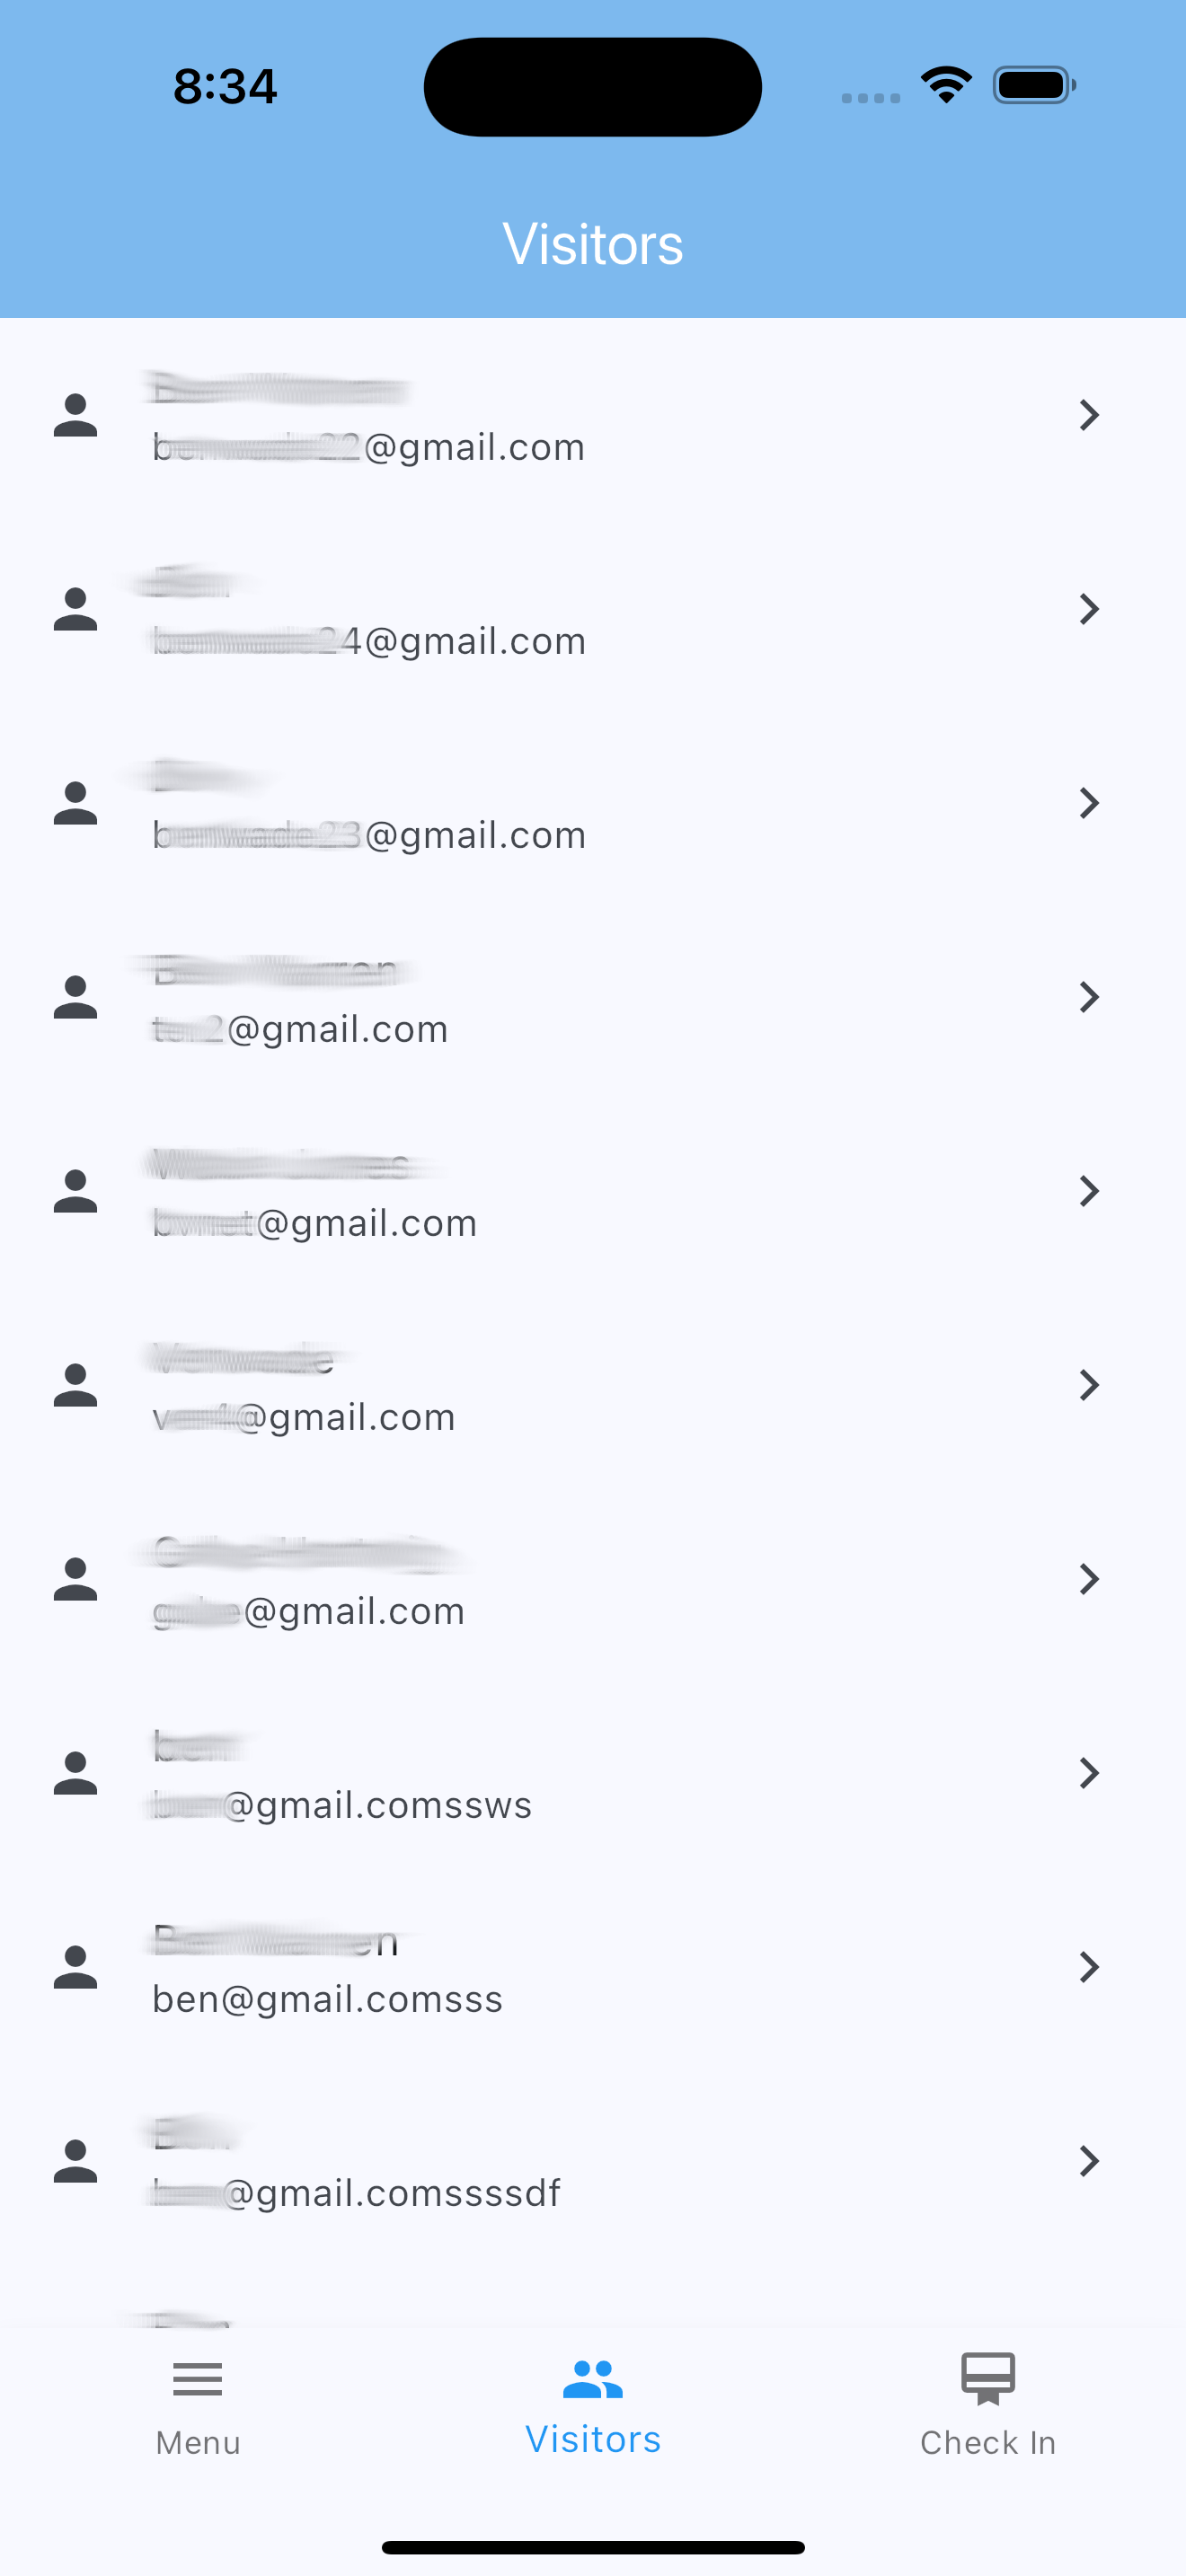
The value of a visitor sign-in kiosk comes after the event. Use the visitor list to see who attended, spot repeat visitors, and follow up with people who may want to return.
For churches, clubs, nonprofits, and classes, this replaces the usual scramble of decoding handwriting and typing names into a spreadsheet later.
Common setup tips
Keep the wording simple
Tell guests: “Please sign in on the tablet.” That is usually enough. The app guides them through the fields.
Use one device first
Start with one iPad or iPhone at your next event. Once your team likes the flow, make it part of your regular welcome process.
Put it where paper used to be
The easiest rollout is replacing the clipboard directly, not creating a brand-new check-in station somewhere guests will miss.
Follow up quickly
Visitor contact details are most useful when someone follows up within a day or two after the meeting or event.
Ready to set up your sign-in kiosk?
Download MemberMaker, create your organization, and test the check-in flow before your next gathering.

