Keep a front-desk form, event questionnaire, volunteer flow, or check-in-only experience ready to use.
Guest lists for real-world gatherings
Event check-in that works for one night and the next one
Capture guest contact details at workshops, performances, open houses, classes, and club meetings—then recognize the people who return.
- Portable check-in on a phone or tablet
- Custom questions for each event or program
- Switch one kiosk or every kiosk together
- Self-service kiosk mode
- Guest list export after the event
More useful than a one-time registration form
Built for organizers who want people to come back
Workshops & classesKeep an accurate roster and see recurring attendance
Open housesCapture prospect details without passing around a clipboard
PerformancesBuild a list of guests or participants for the next show
Club meetingsTrack visitors alongside the regulars who return
Keep the line moving
A short, guided flow instead of one crowded form
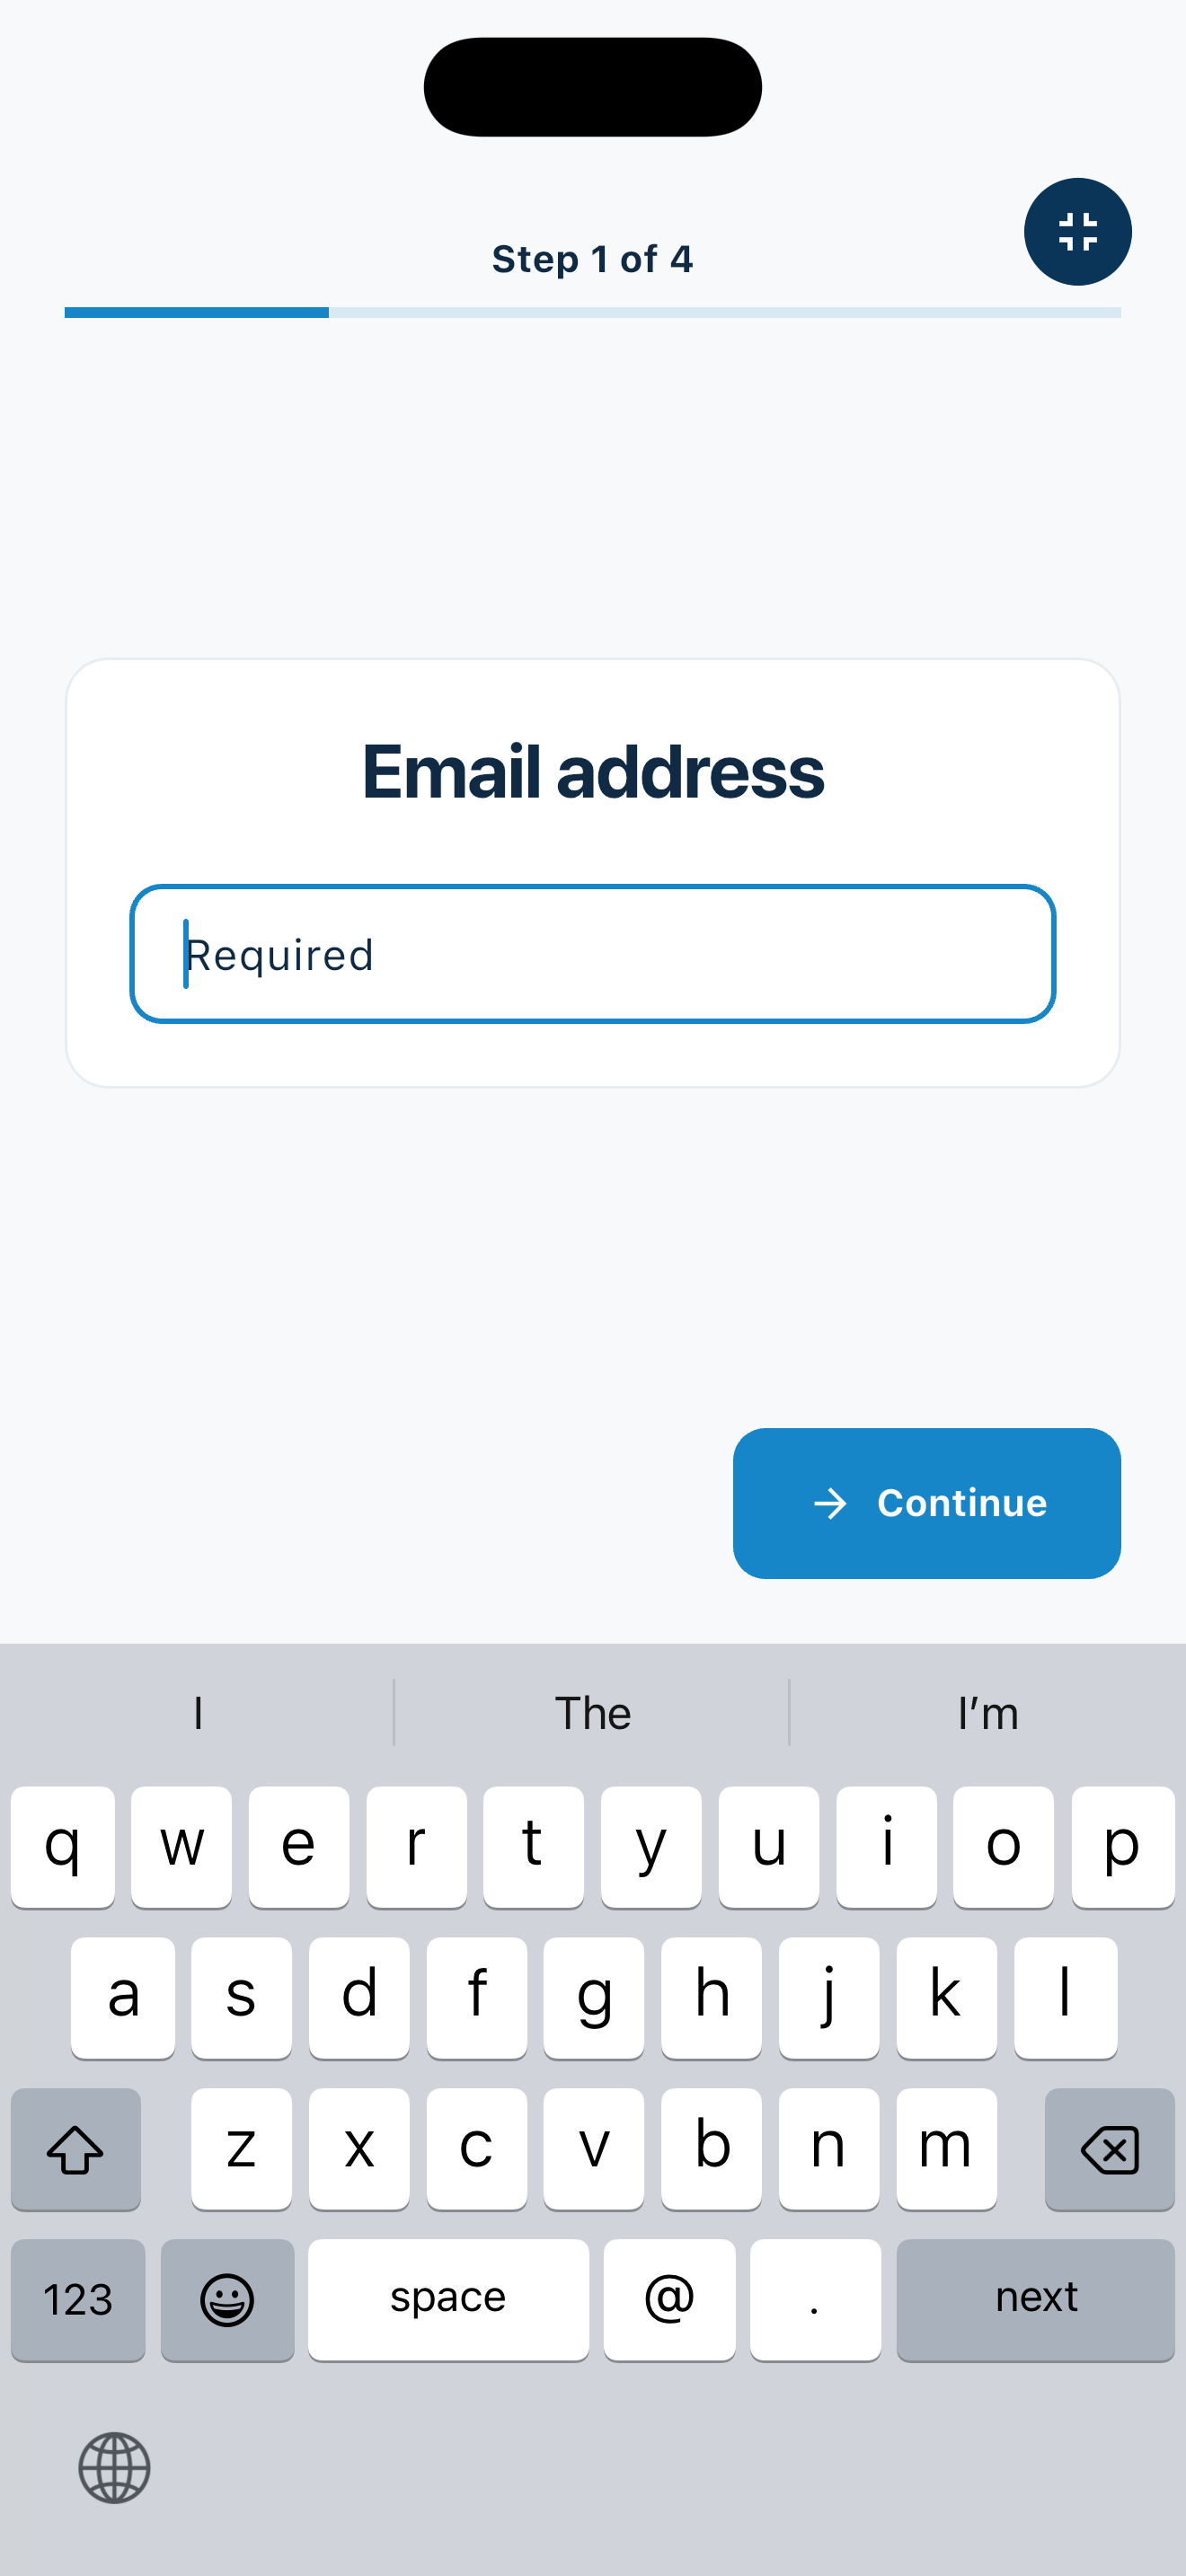
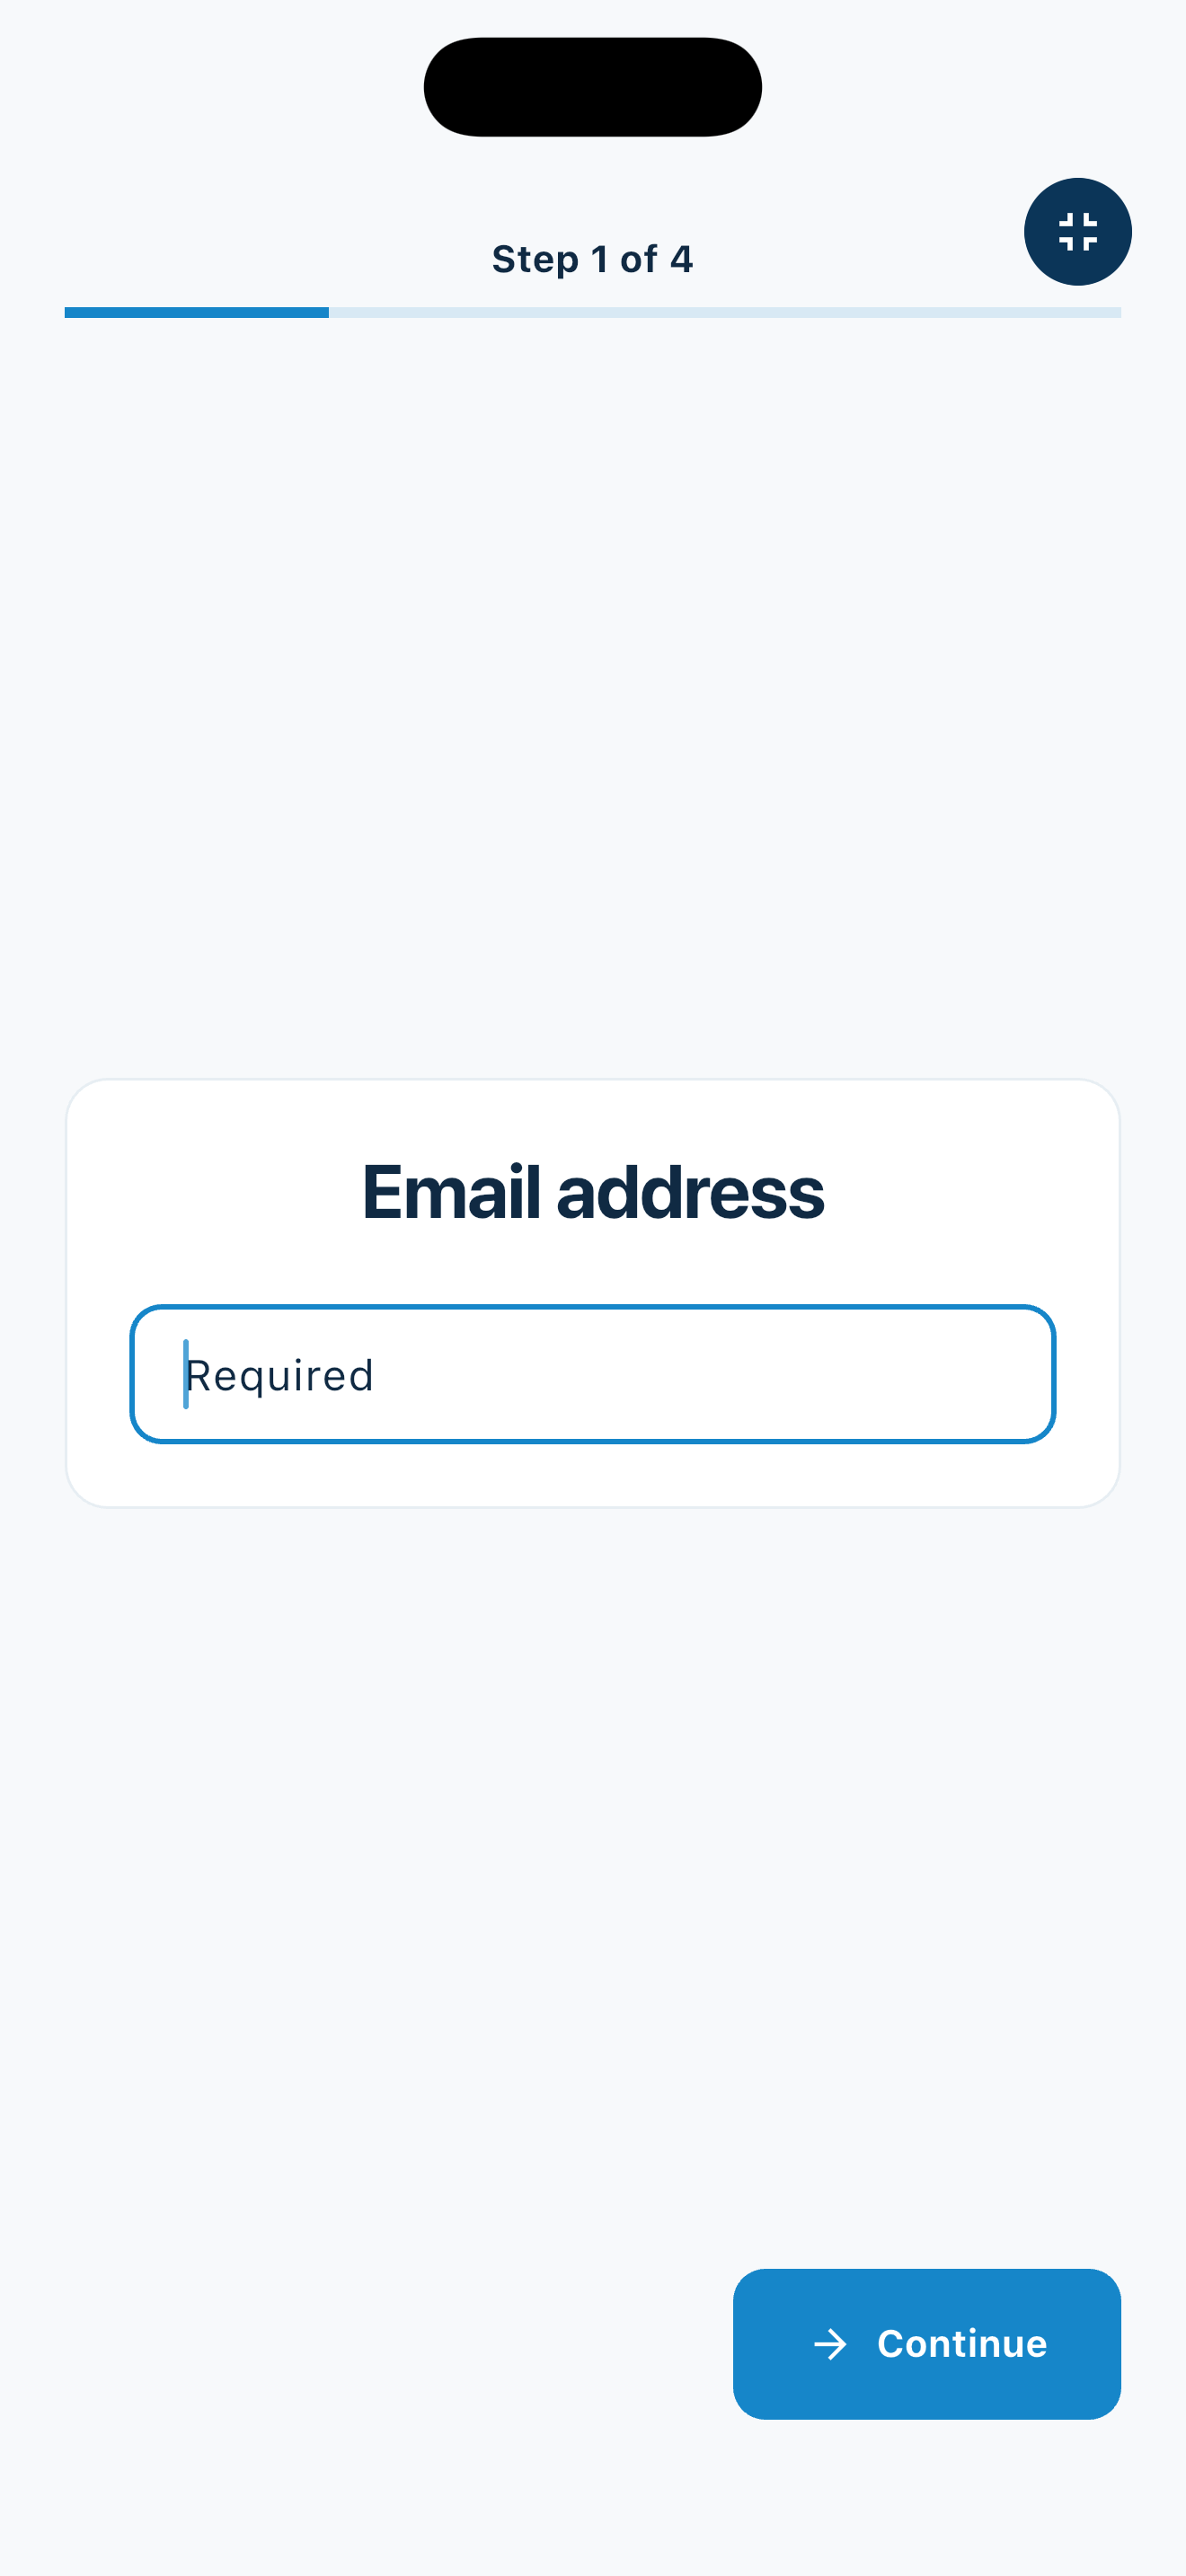
MemberMaker asks for contact details step by step and gives guests a clear review before submission. The focused flow works well on smaller screens and helps reduce incomplete entries at busy welcome tables.
- Place the device at arrivalUse a stand, hand it to a volunteer, or take it with you to pop-up events.
- Let guests enter their informationEach person moves through the same predictable check-in flow.
- Export and invite them backStart post-event follow-up with a clean list instead of manual data entry.
Your web dashboard and kiosk app
Manage online. Check in on your tablet.
1. Set up your web dashboard
Create your organization, build and publish kiosk questions, choose required fields, and configure identification and optional checkout. Apply a published question group to your organization’s kiosks from the dashboard.
Create a web account2. Download the app when your kiosk is ready
Install MemberMaker on your iPad or Android tablet, sign in to the same account, and select your organization. Open fullscreen mode so visitors can check in at your table or entrance.


3. See live sign-ins in your browser
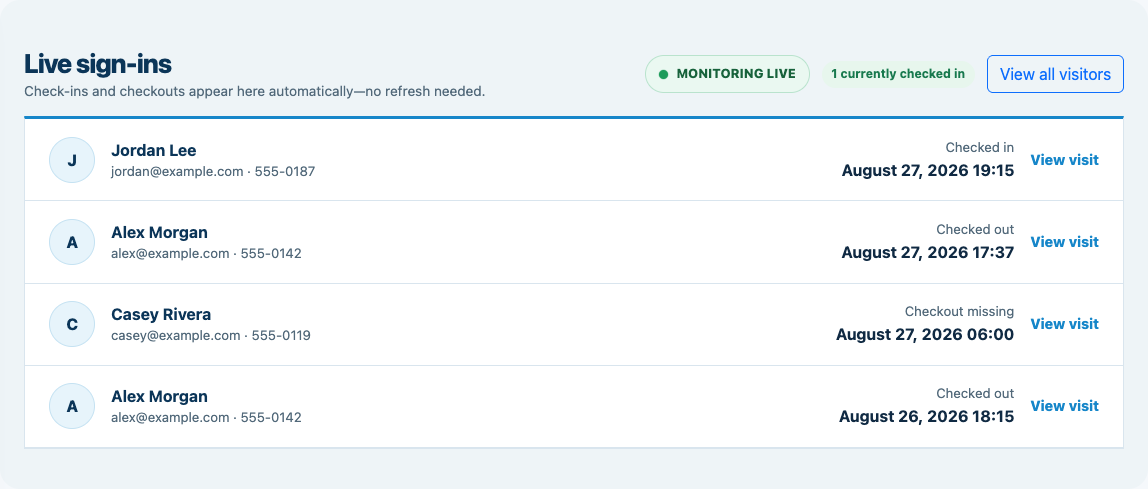
Keep the dashboard open to see arrivals and departures update automatically. Review visitor history, answers, and checkout status, then export records when you need them.
Optional visitor checkout
Know when a visit ends—not only when it starts
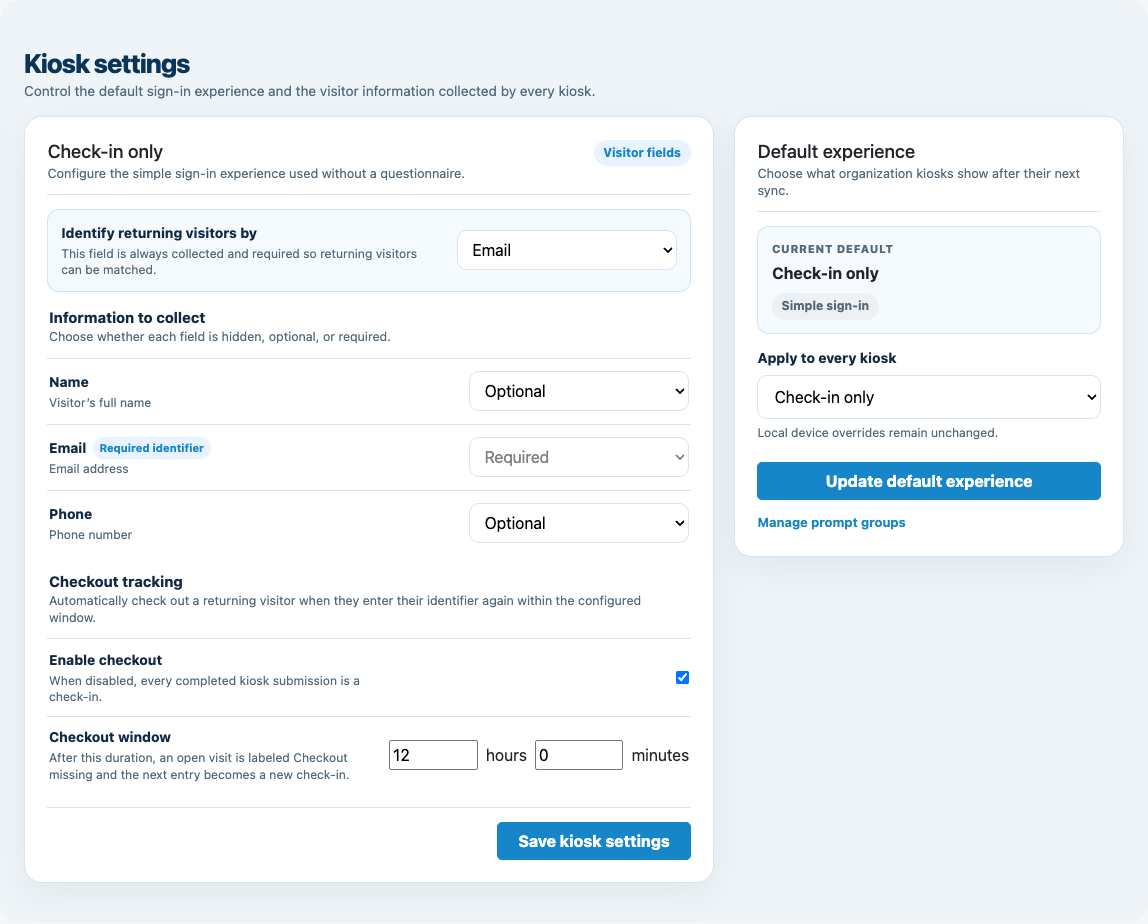
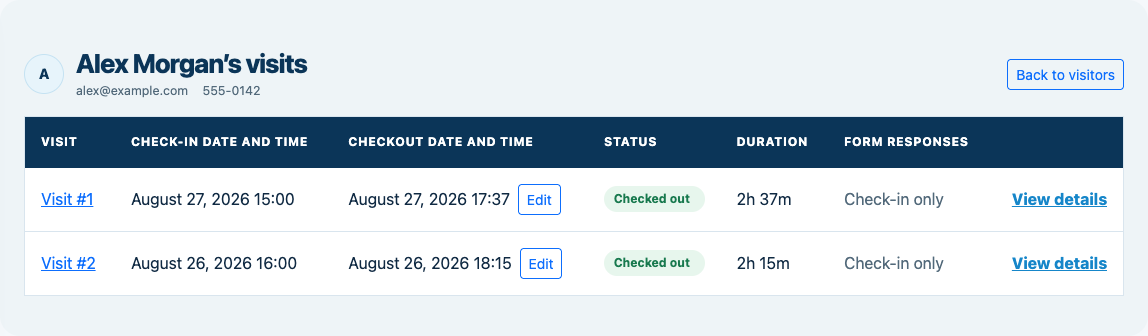
Enable checkout for your organization and choose the return window. When an open visitor enters the same email or phone again within that window, MemberMaker checks them out immediately instead of making them repeat their profile and prompts.
- Disabled by default, with a 12-hour default window when enabled
- Live checked-in, checked-out, and checkout-missing statuses
- Checkout times, visit duration, corrections, and CSV export
Customizable visitor sign-in kiosk
Build the right sign-in flow, then put it on the right kiosks
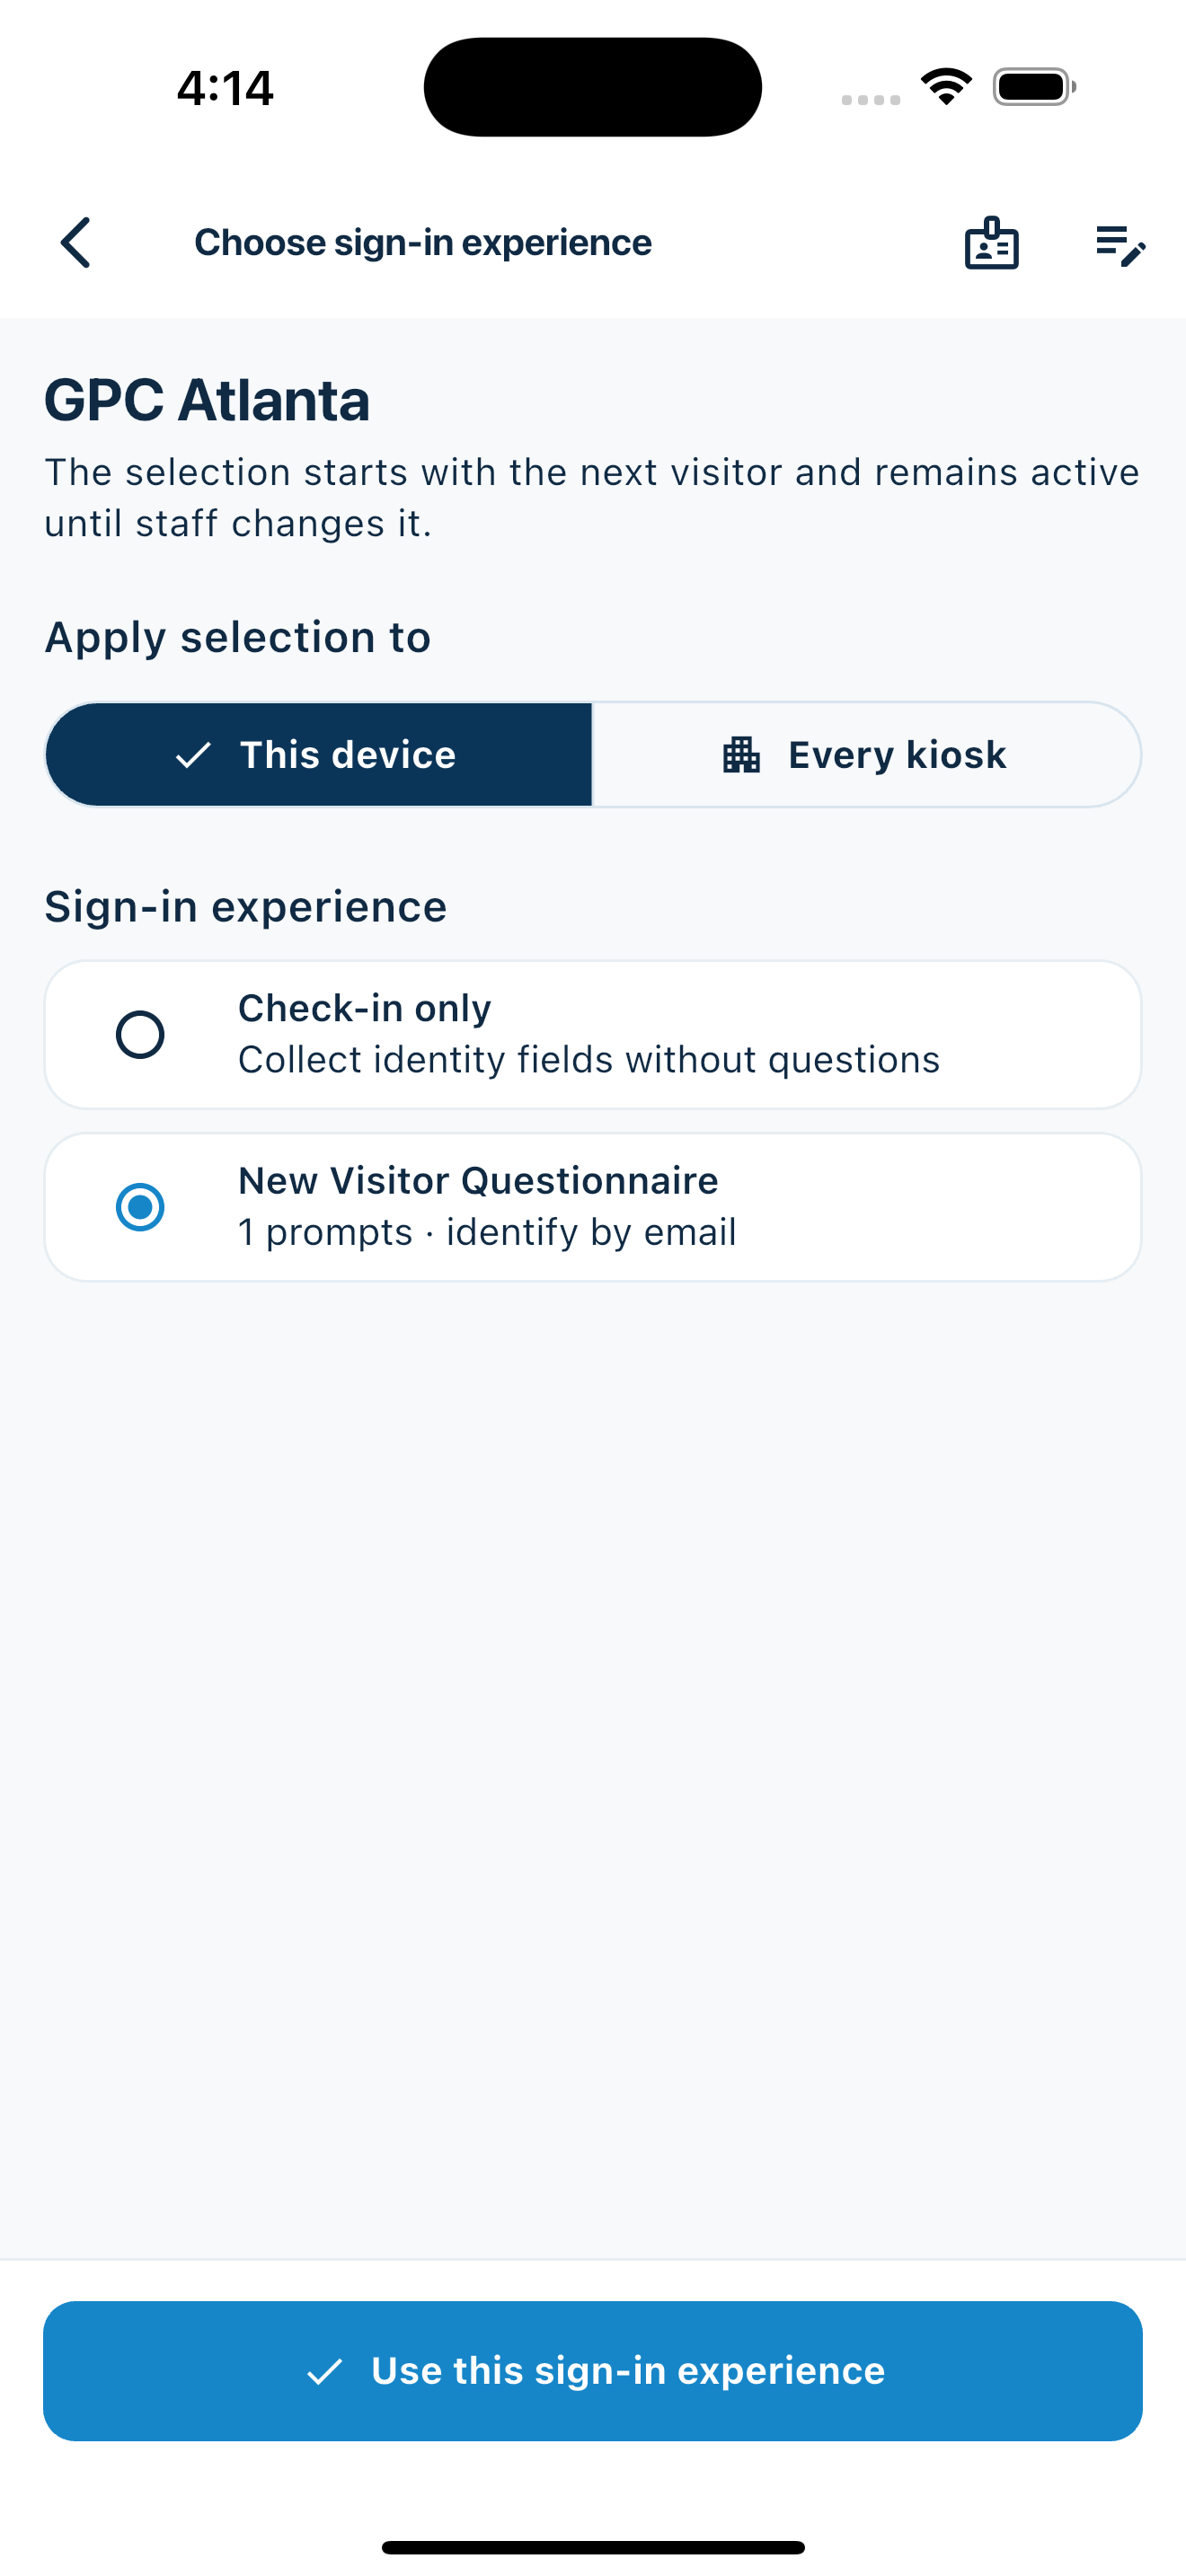
Create reusable prompt groups for different entrances, events, programs, or visitor types. Add custom questions, choose required fields and answer types, then apply the published form to this device or every kiosk in the organization.
- Short text
- Long text
- Yes / No
- Single choice
- Multiple choice
- Number
- Date
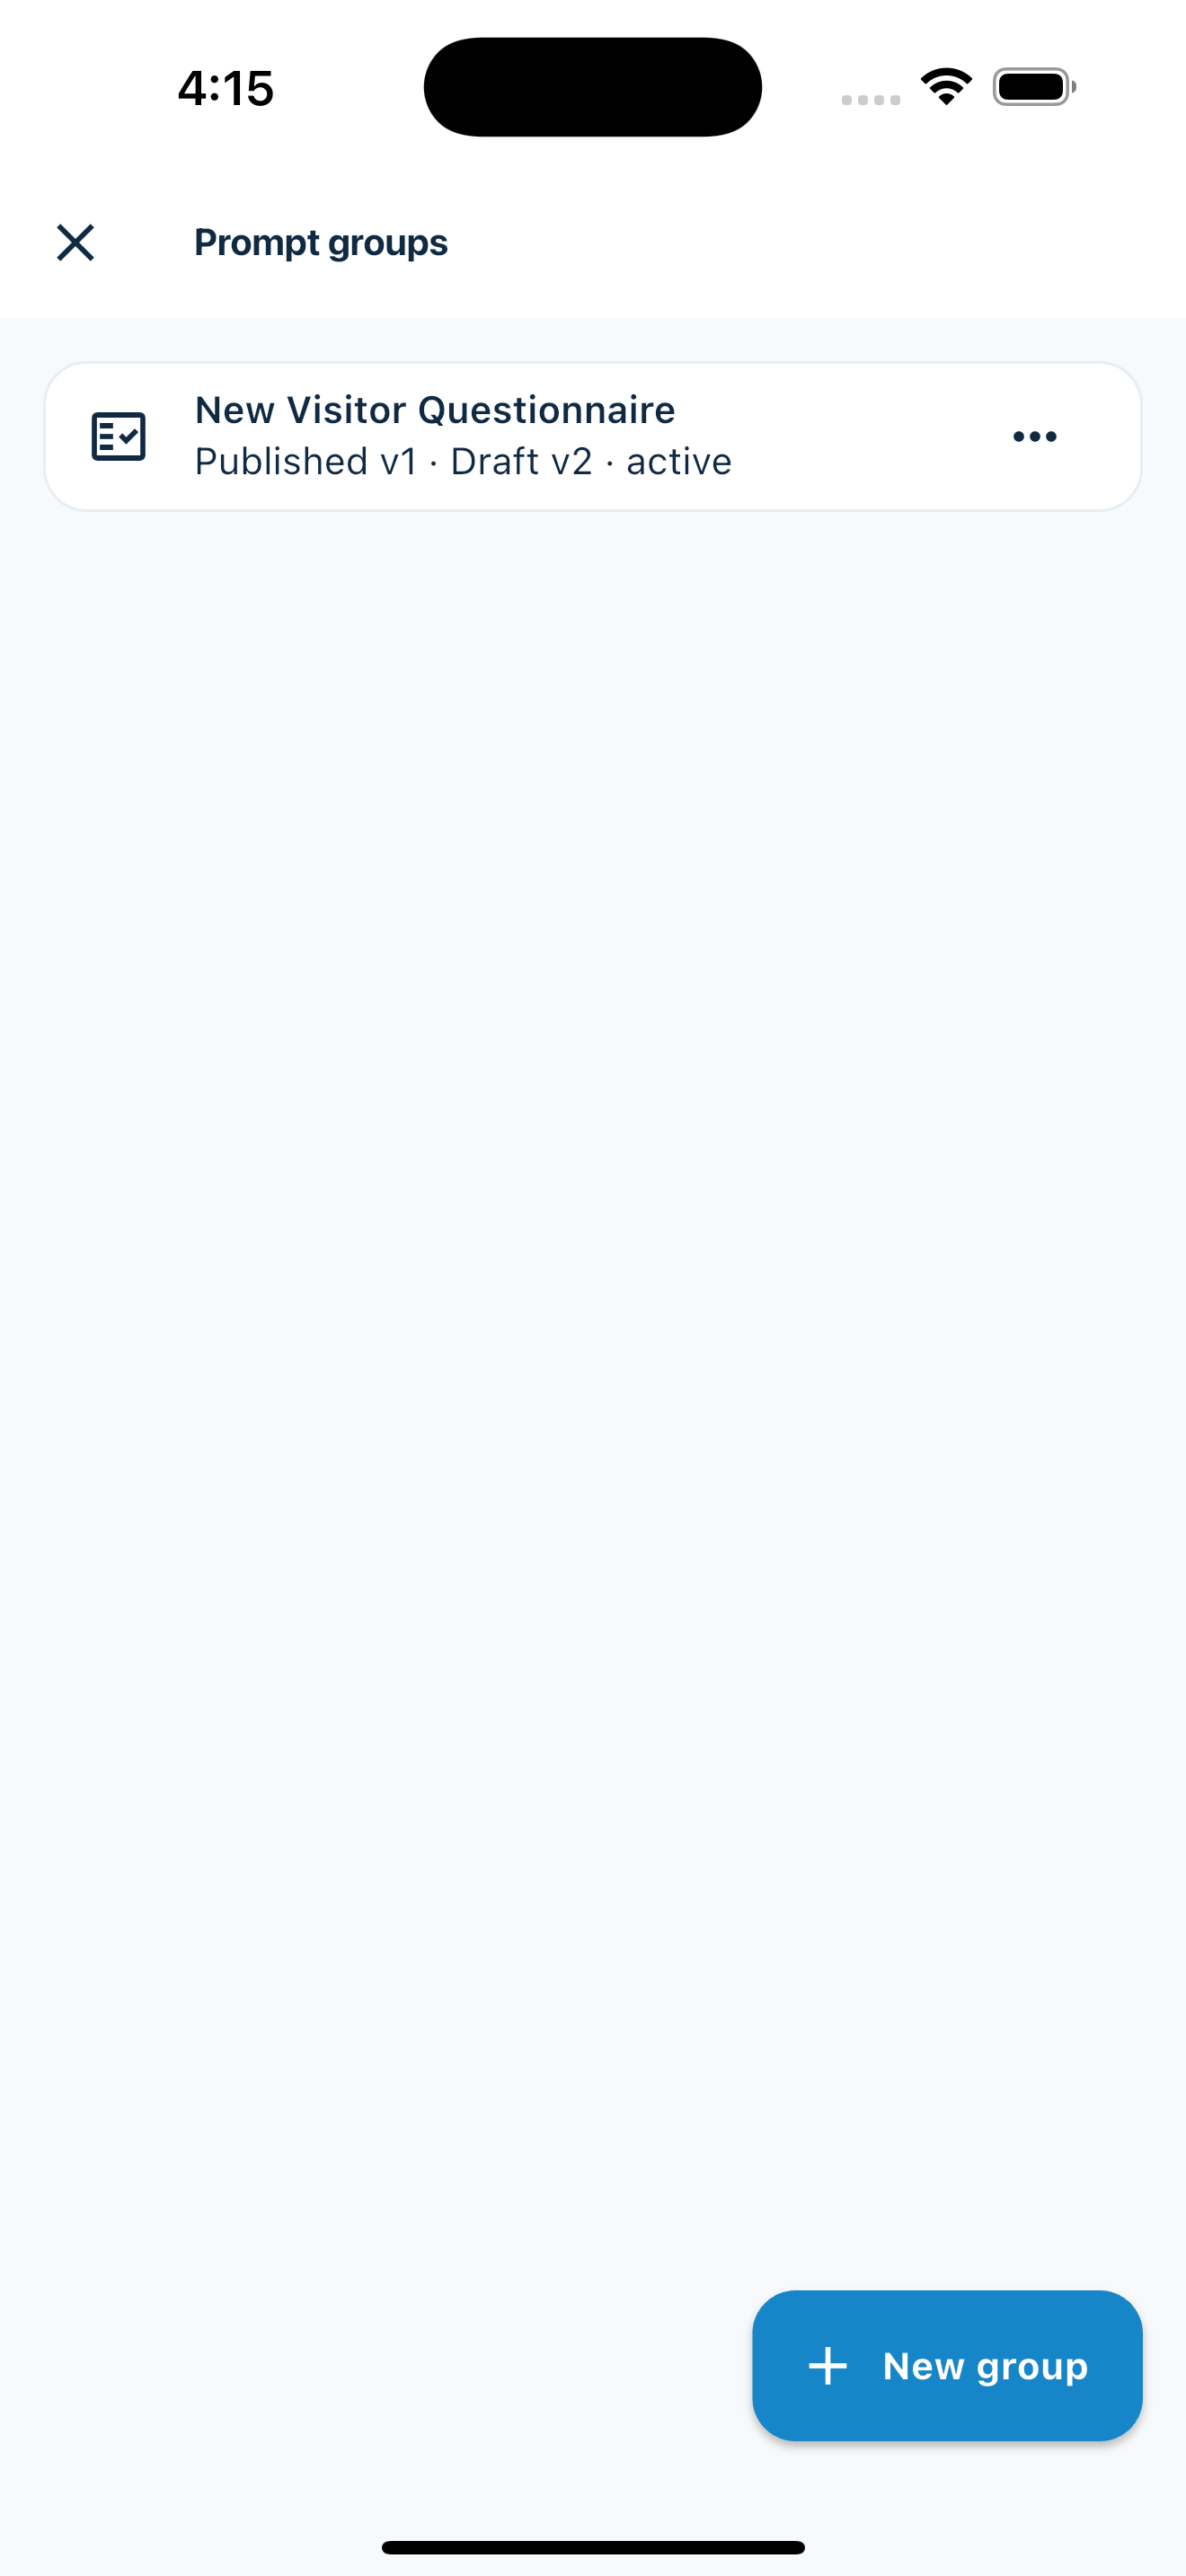
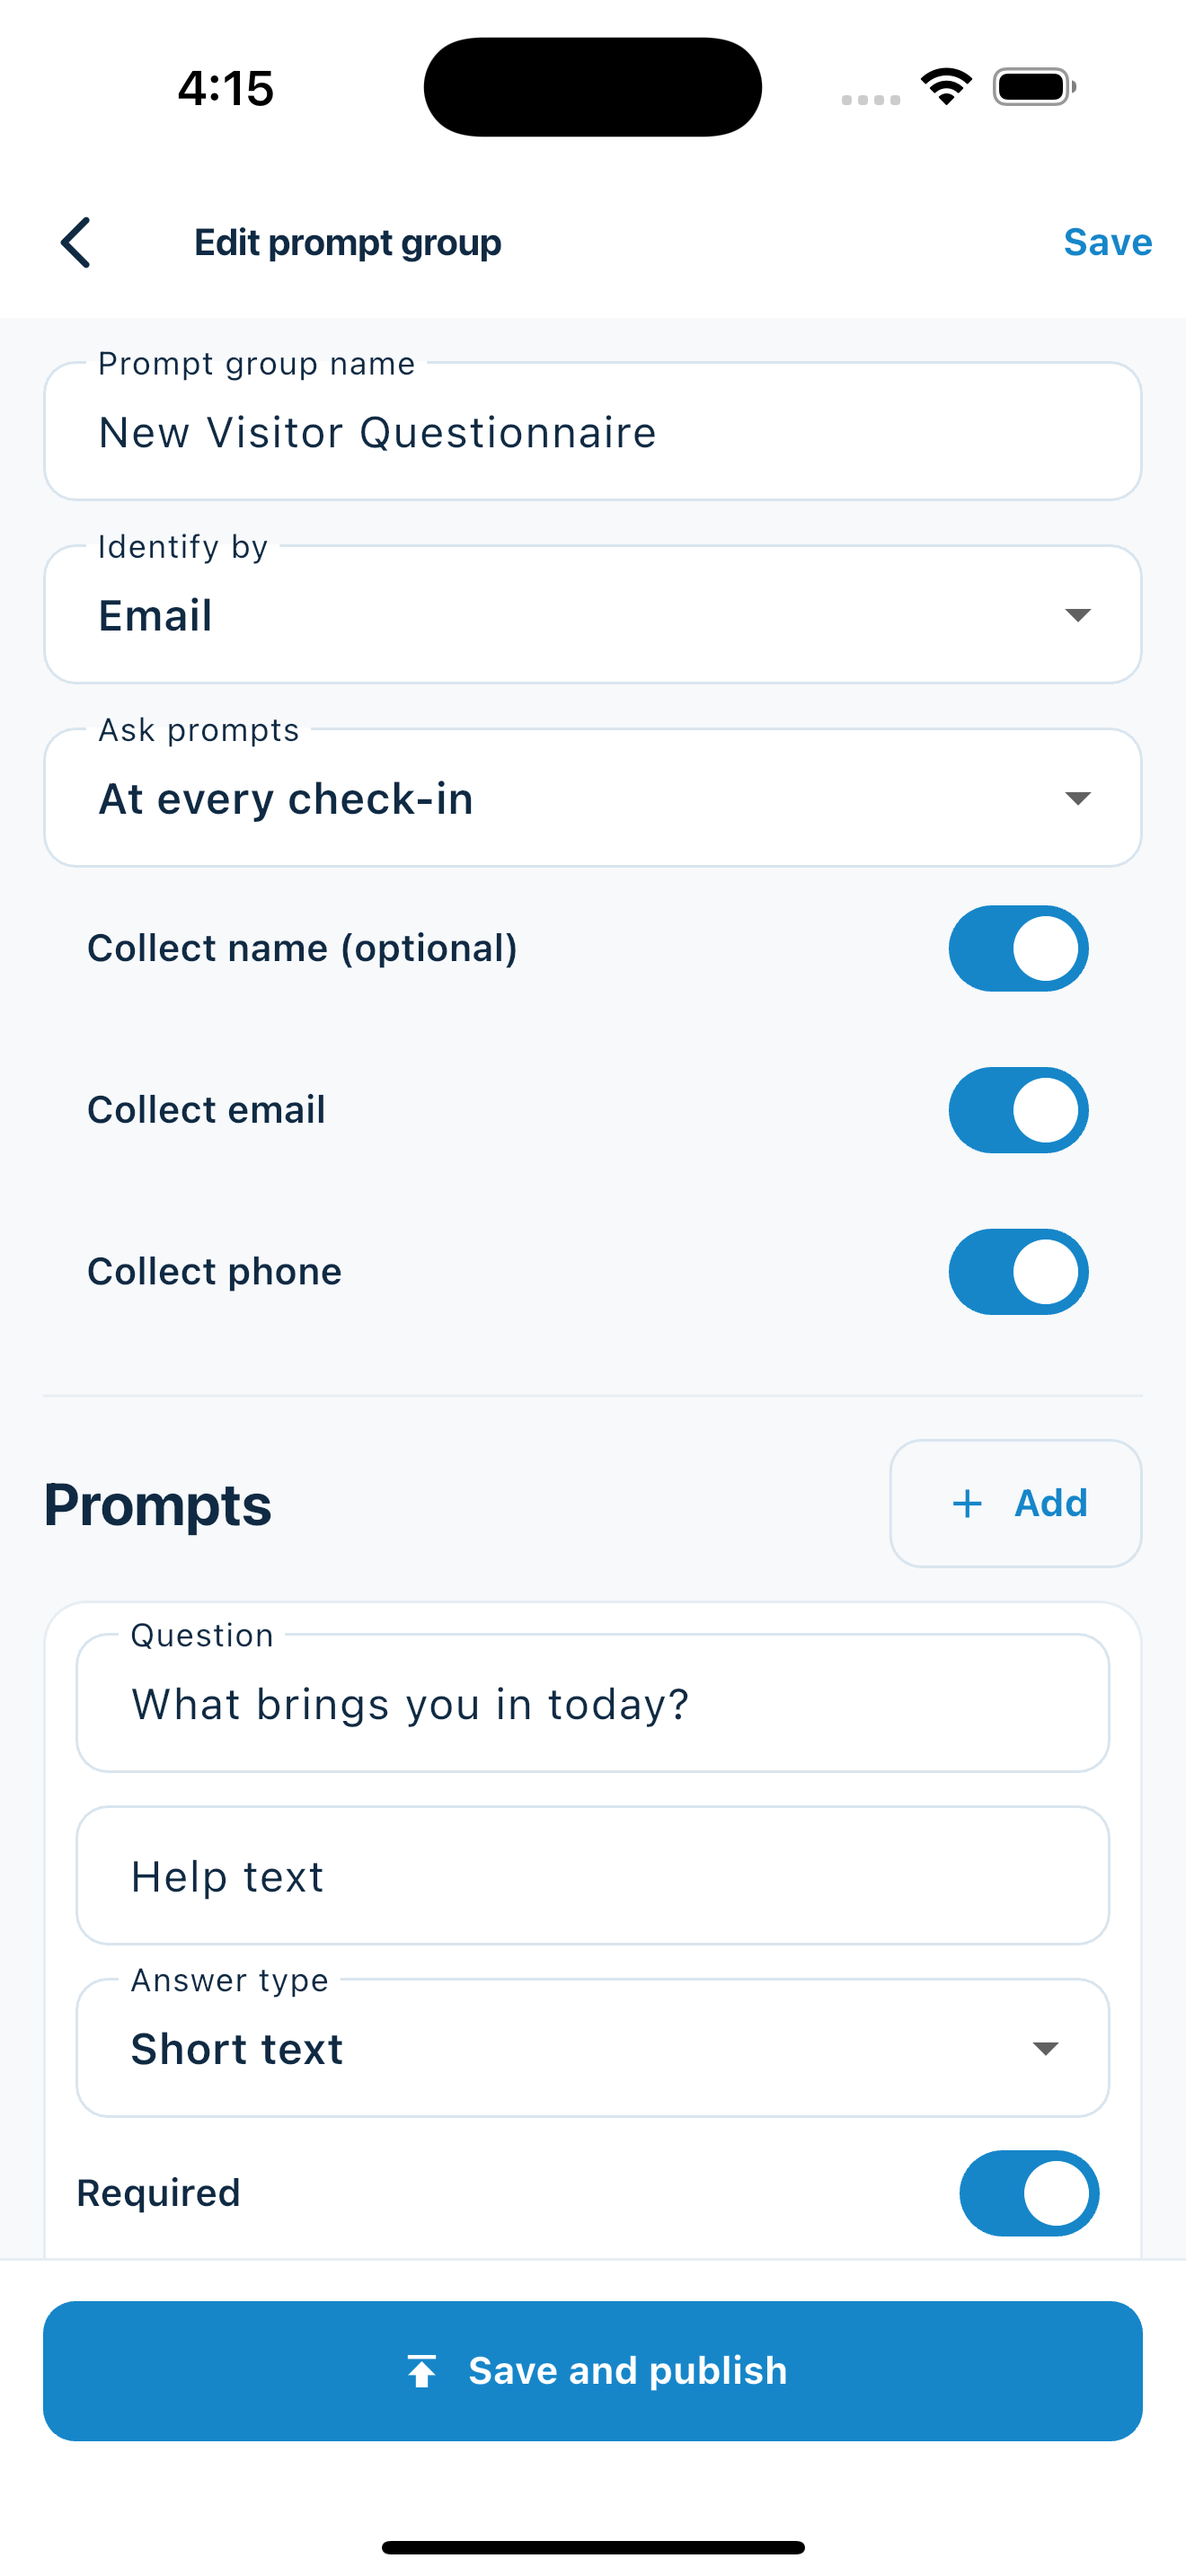
Mix text, Yes or No, single choice, multiple choice, number, and date questions in the same group.
Change only the device in your hand or apply one published experience throughout the organization.
Published forms download to the device so visitor sign-in can continue without a connection.
Common questions
Event check-in app FAQ
Is this for ticket scanning?
No. MemberMaker focuses on guest contact capture and attendance rather than ticket sales or barcode scanning.
Does it work for recurring events?
Yes. Repeat visits are one of the main advantages over a one-time paper list or disconnected form.
Can volunteers run check-in?
Yes. The guided flow is intended to be straightforward for both volunteers and self-service guests.
What devices can I use?
MemberMaker is available for iPhone and iPad, with an Android app for compatible phones and tablets.
Start in your browser
Set up online. Welcome visitors on your tablet.
Create a web account to manage your organization. When you’re ready for guests, install the kiosk app on your iPad or Android tablet.
Set up your questions and kiosk settings in the web dashboard. See live sign-ins here once your kiosk is running.
Create a web accountReady to set up your kiosk? Download the app and sign in to the same account.One event, one attendance record
From the first arrival to the last check-in
Create a separate event for each session you want to review independently.
Step 1
Create your event
Give the session a recognizable name. Add an optional date, time, and description. Dates are informational: they do not automatically activate or expire a session.
Step 2
Choose how people check in
For in-person attendance, select the active event on each app device. For online attendance, choose the event when creating a web check-in link and share that link with participants.
Step 3
Review who attended
Use the dashboard’s Check-Ins tab and event filter to review the session’s recorded attendance. Export CSV when you need to work with it in a spreadsheet.
Event-specific setup requires Events to be enabled for your organization. Sharing web check-in links also requires online check-in to be enabled. Creating an account does not automatically enable these features.
Explore simple class attendance →